CLI Getting Started
MDB CLI Getting Started
This guide will take you step by step on how to perform different actions using MDB CLI. Starting from login/registration to deployment of your complex projects.
Login & registration
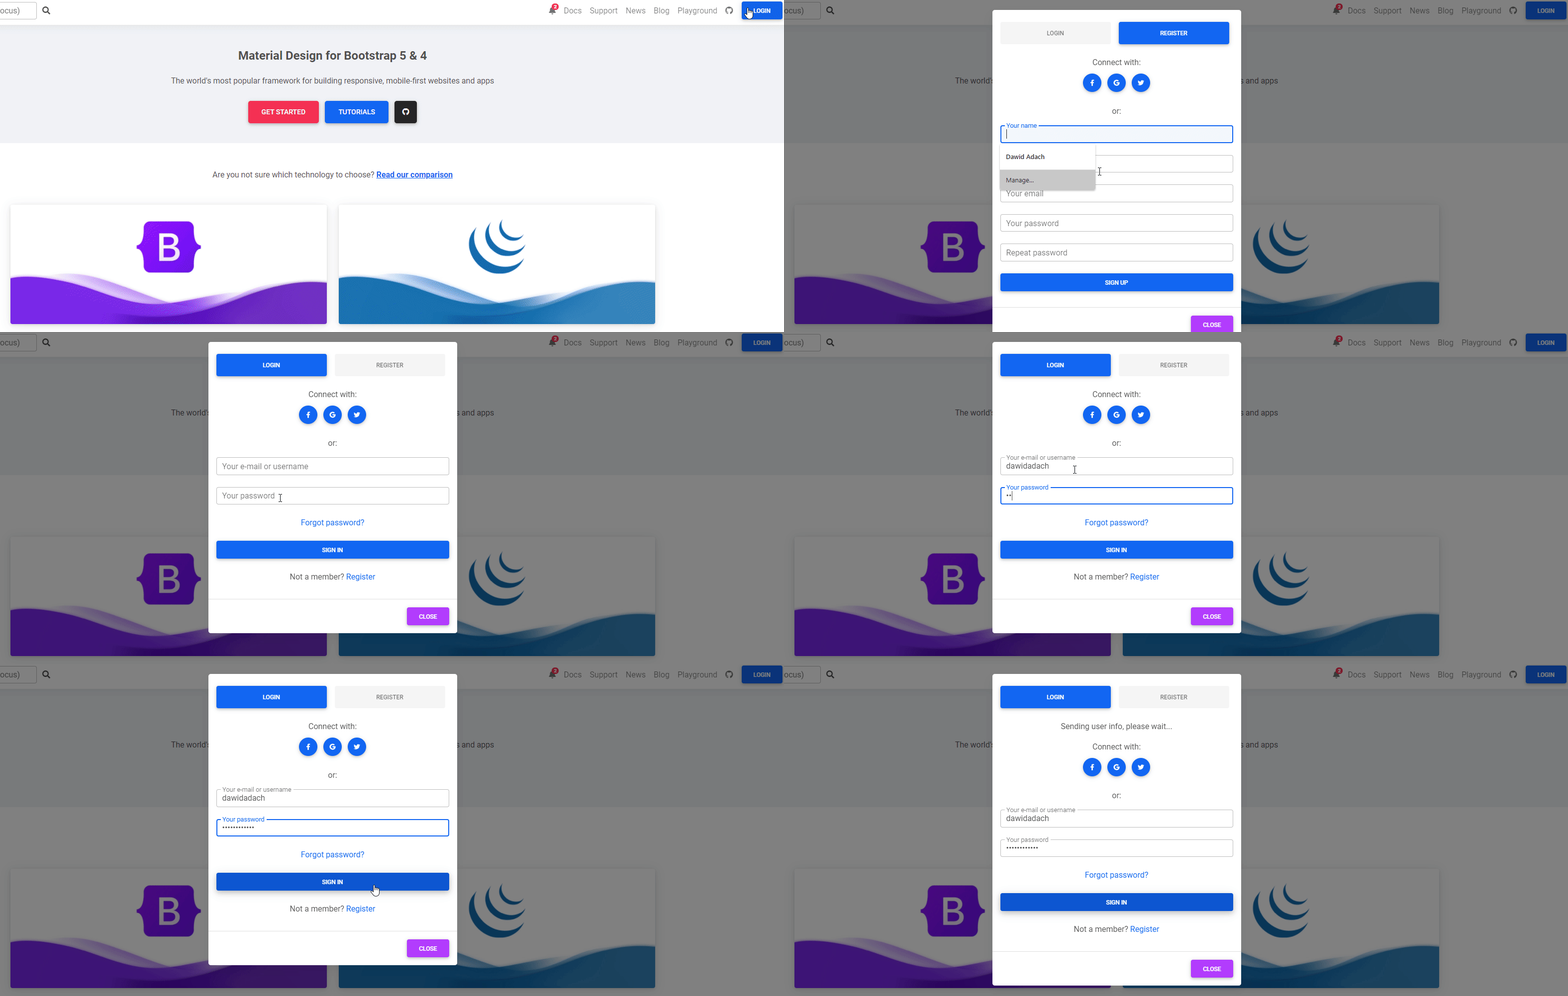
In order to start using CLI login to your account. If you don't have one yet - you can create it for free.
Via website
The easiest way to create an account is to navigate to mdbgo.com or mdbootstrap.com and create free account.

Note: You can use same account on mdbootstrap.com and mdbgo.com
Video tutorial:
CLI usage
Watch below video to understand how to use MDB CLI.
Usage
CLI is a powerful tool which allows you to create different projects. Regardless whether you are building your frontend in Angular, React, Vue or plain JavaScript or you want to build entire application using node.js or PHP.
Once you create them you can publish them to web using single command. No more difficult configuration and deployment.
CLI allows you also to setup your Wordpress project with single command.
You can also manage your database and git repository for a project. Everything without getting your hands of keyboard.
Video tutorial:
Frontend project from scratch.
Initialize
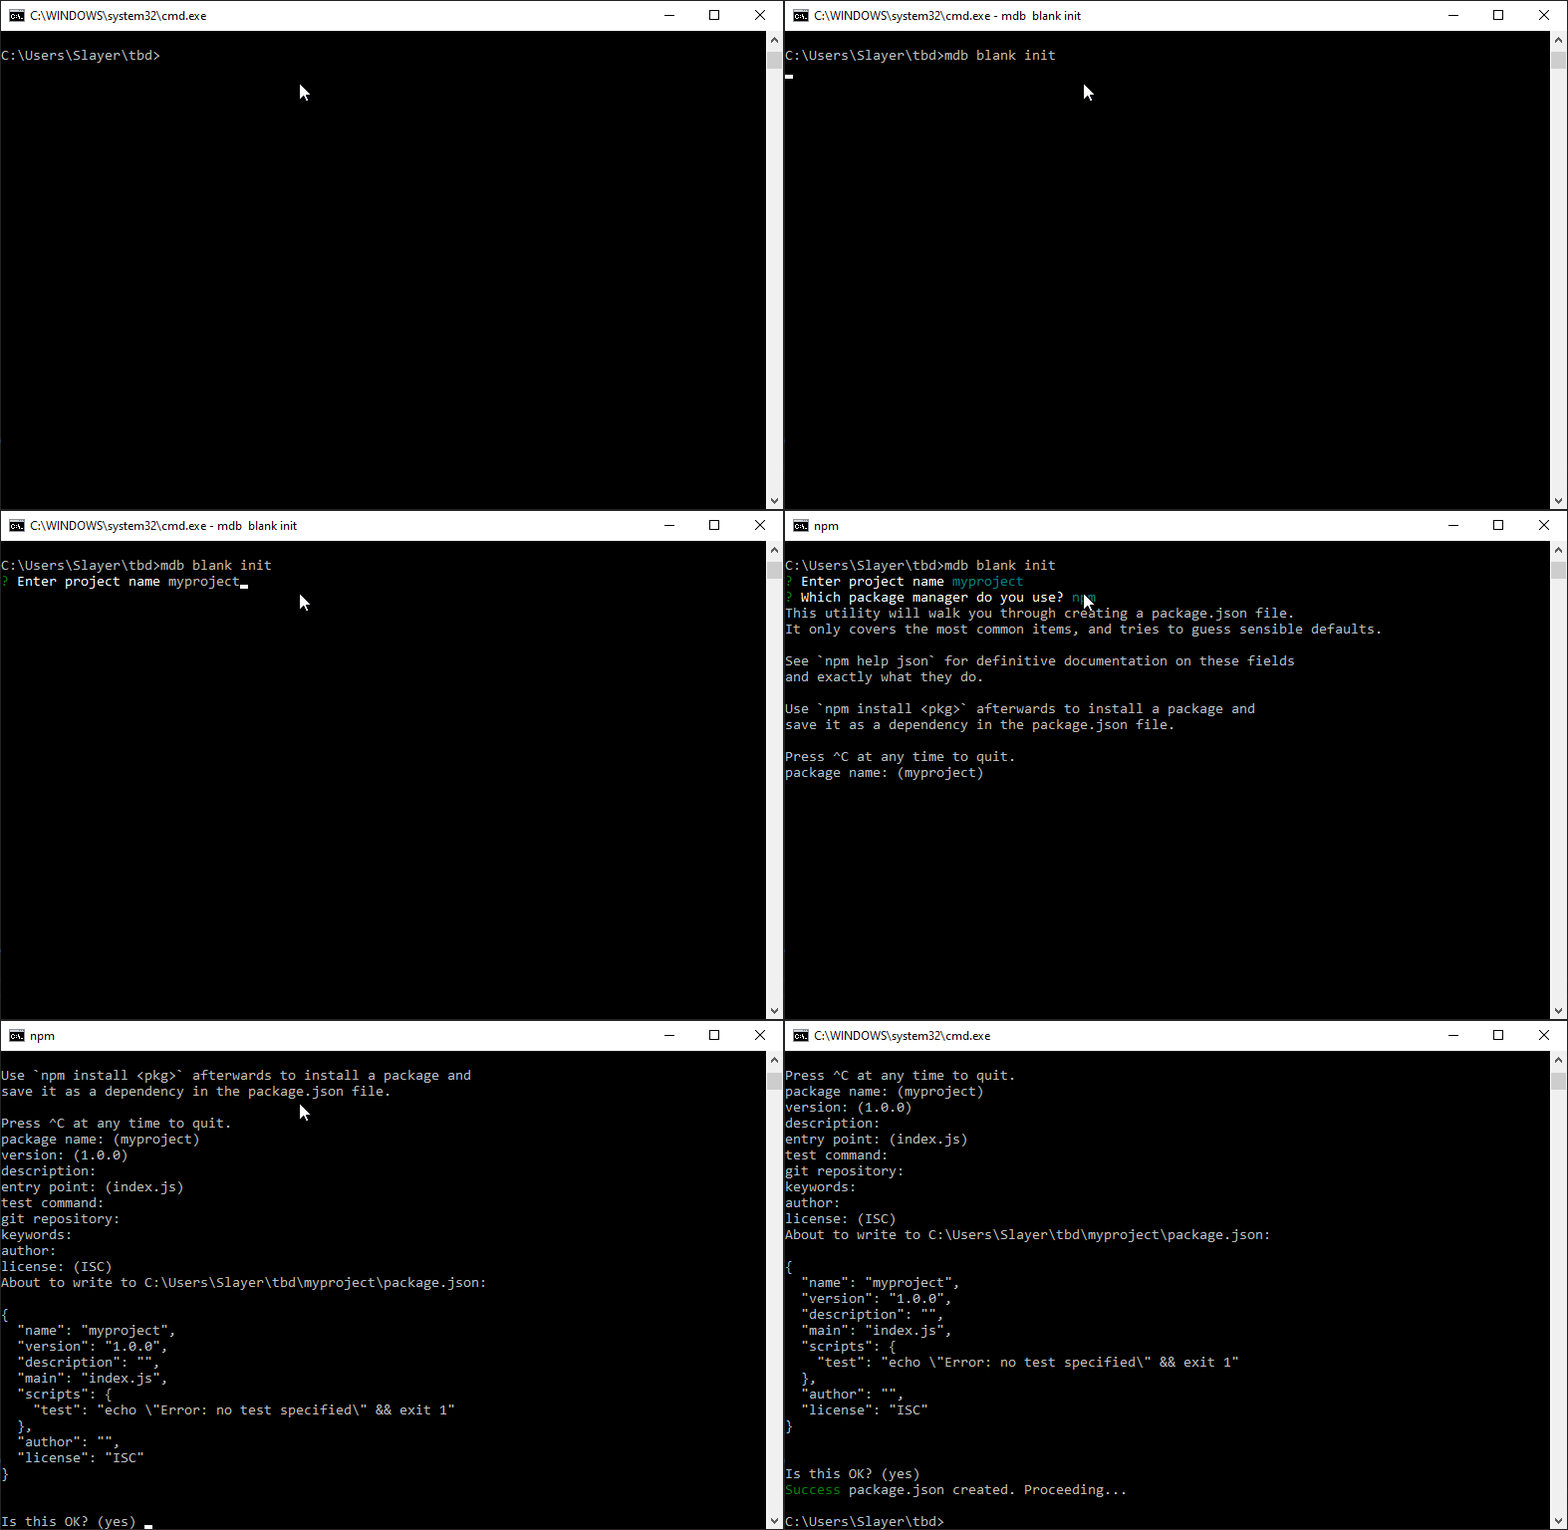
In order to initialize empty project use the following command:
$ mdb blank init
Publish
Once you finish building your project, use the following command do deploy it:
$ mdb frontend publish
Note: Since frontend is a default value for
publish command, you can run just mdb publish (instead of
mdb frontend publish )
If you are publishing for the first time, CLI will ask you few initial questions like
- Whether you want to use npm or yarn?
- What is your project name, version, description, github address and license
Once you successfully publish your project they will be stored for a future.
Video tutorial:
Frontend project from starter.
Initialize
In order to initialize project and use predefined starter use the following command:
$ mdb init
You will list of available starters to choose from.
Publish
Once you finish building your project, use the following command do deploy it:
$ mdb frontend publish
Note: Since frontend is a default value for
publish command, you can run just mdb publish (instead of
mdb frontend publish )
If you are publishing for the first time, CLI will ask you few initial questions like
- Whether you want to use npm or yarn?
- What is your project name, version, description, github address and license
Once you successfully publish your project they will be stored for a future.
Video tutorial:
Backend project - Node.js
Initialize
Let's initialize npm project first:
$ mdb blank init
Specify project name and choose an npm and . You can also add other meta
descriptions or accept default values.

Open project in editor (ie. VS Code), create index.js and create your app. You can use sample code:
              const http = require("http");
              const port = 3000;

              const server = http.createServer((req, res) => {
                res.statusCode = 200;
                res.setHeader("Content-Type", "text/plain");
                res.end("Hello Node.JS World ");
              });

              server.listen(port, () => {
                console.log(`Server running at port: ${port}`);
              });
Publish
Once you finish building your project, use the following command do deploy it:
$ mdb backend publish -p node12
Done! Your project will be ready. If you want to check project console use
mdb logs command.
Video tutorial:
Backend project - PHP
Initialize
Let's initialize npm project first:
$ mdb blank init
Specify project name and choose an npm and . You can also add other meta
descriptions or accept default values.

Open project in editor (ie. VS Code), create index.php and create your app.
You can use sample code:
<?php echo("Hello PHP World"); ?>
Publish
Once you finish building your project, use the following command do deploy it:
$ mdb backend publish -p php7.4
Done! Your project will be ready. If you want to check project console use
mdb logs command.
Video tutorial:
Crate and deploy WordPress theme
Local setup
Although this is not mandatory we strongly encourage you to setup your local WordPress instance. If you don't know how to that we have prepared for you separate tutorial.
Assuming that you have your WordPress installed locally navigate to
wordpress_location/wp-content/themes
and run the following command:
$ mdb init
This will show you list of available starters. Choose from the list either
MDB starter or Empty starter. Empty starter is an empty
boilerplate without any libraries while MDB starter includes MDB starter and allows you to
use one of the thousands
MDB5 components.
Publish
Once your theme is ready you can publish it to web using the following command:
$ mdb wordpress publish
CLI will ask you about your project name and email. After that MDB GO will create and configure for you everything - database, wordpress, configuration and theme. You will be shown your admin login and password.
Note: Remember to store your username and password. This is the only time when they are displayed. If you want to change your password login to your WordPress instance and edit profile.
Video tutorial:
GIT repository
Add git repository to your project
MDB GO allows you to add a git repository to your projects. In order to do so simply login to your admin panel at mdbgo.com, navigate to projects and click at MANAGE button next to the project.
If your project doesn't have repository you will see X next to "Repository" field.

In case your project already have a repository you will see a link to it.
Click CREATE button. This will create a git repository and submit your currently deployed code into a new repository.
Now you can navigate to your git project, review history, manage access and more.
From now on whenever you run mdb get command to download your MDB GO project to your local computer it will clone the project from GIT repository (instead of downloading it from FTP)
